How to Add Google Analytics 4 to SharePoint with SPFx
Billy Peralta
June 10, 2023

In accordance with Google’s guidelines:
Effective from July 1, 2023, standard Universal Analytics properties will cease to process data. This comprehensive guide will assist you in seamlessly incorporating Google Analytics 4 into your SharePoint Sites, enabling you to effectively monitor and analyze your site.
Prerequisites:
Before we start our development, please ensure the following requirements and has the corresponding versions installed. We will be creating an SPFx Application Customizer to incorporate Google Analytics into your SharePoint Online Site.
- NodeJS v16.13+ Since the SPFx version we will use is 1.17.2 currently v16.13+ is the compabtible version.
- NPM any latest version would work v5, v6, v7, v8
- Ready your favourite IDE, mine is Visual Studio Code
- Yeoman Generator 3.1.1
- Gulp 3.1.1
- Of course, you will need your O365 tenant with SharePoint Online to work with.
Development Process:
- Assuming you already have a Google Analytics Property prepared and possess a Google Tag ID or Tracking ID, we can proceed with the development process. If you do not have a Google Tag ID, please refer to the following guide for assistance: https://support.google.com/analytics/answer/9539598?hl=en
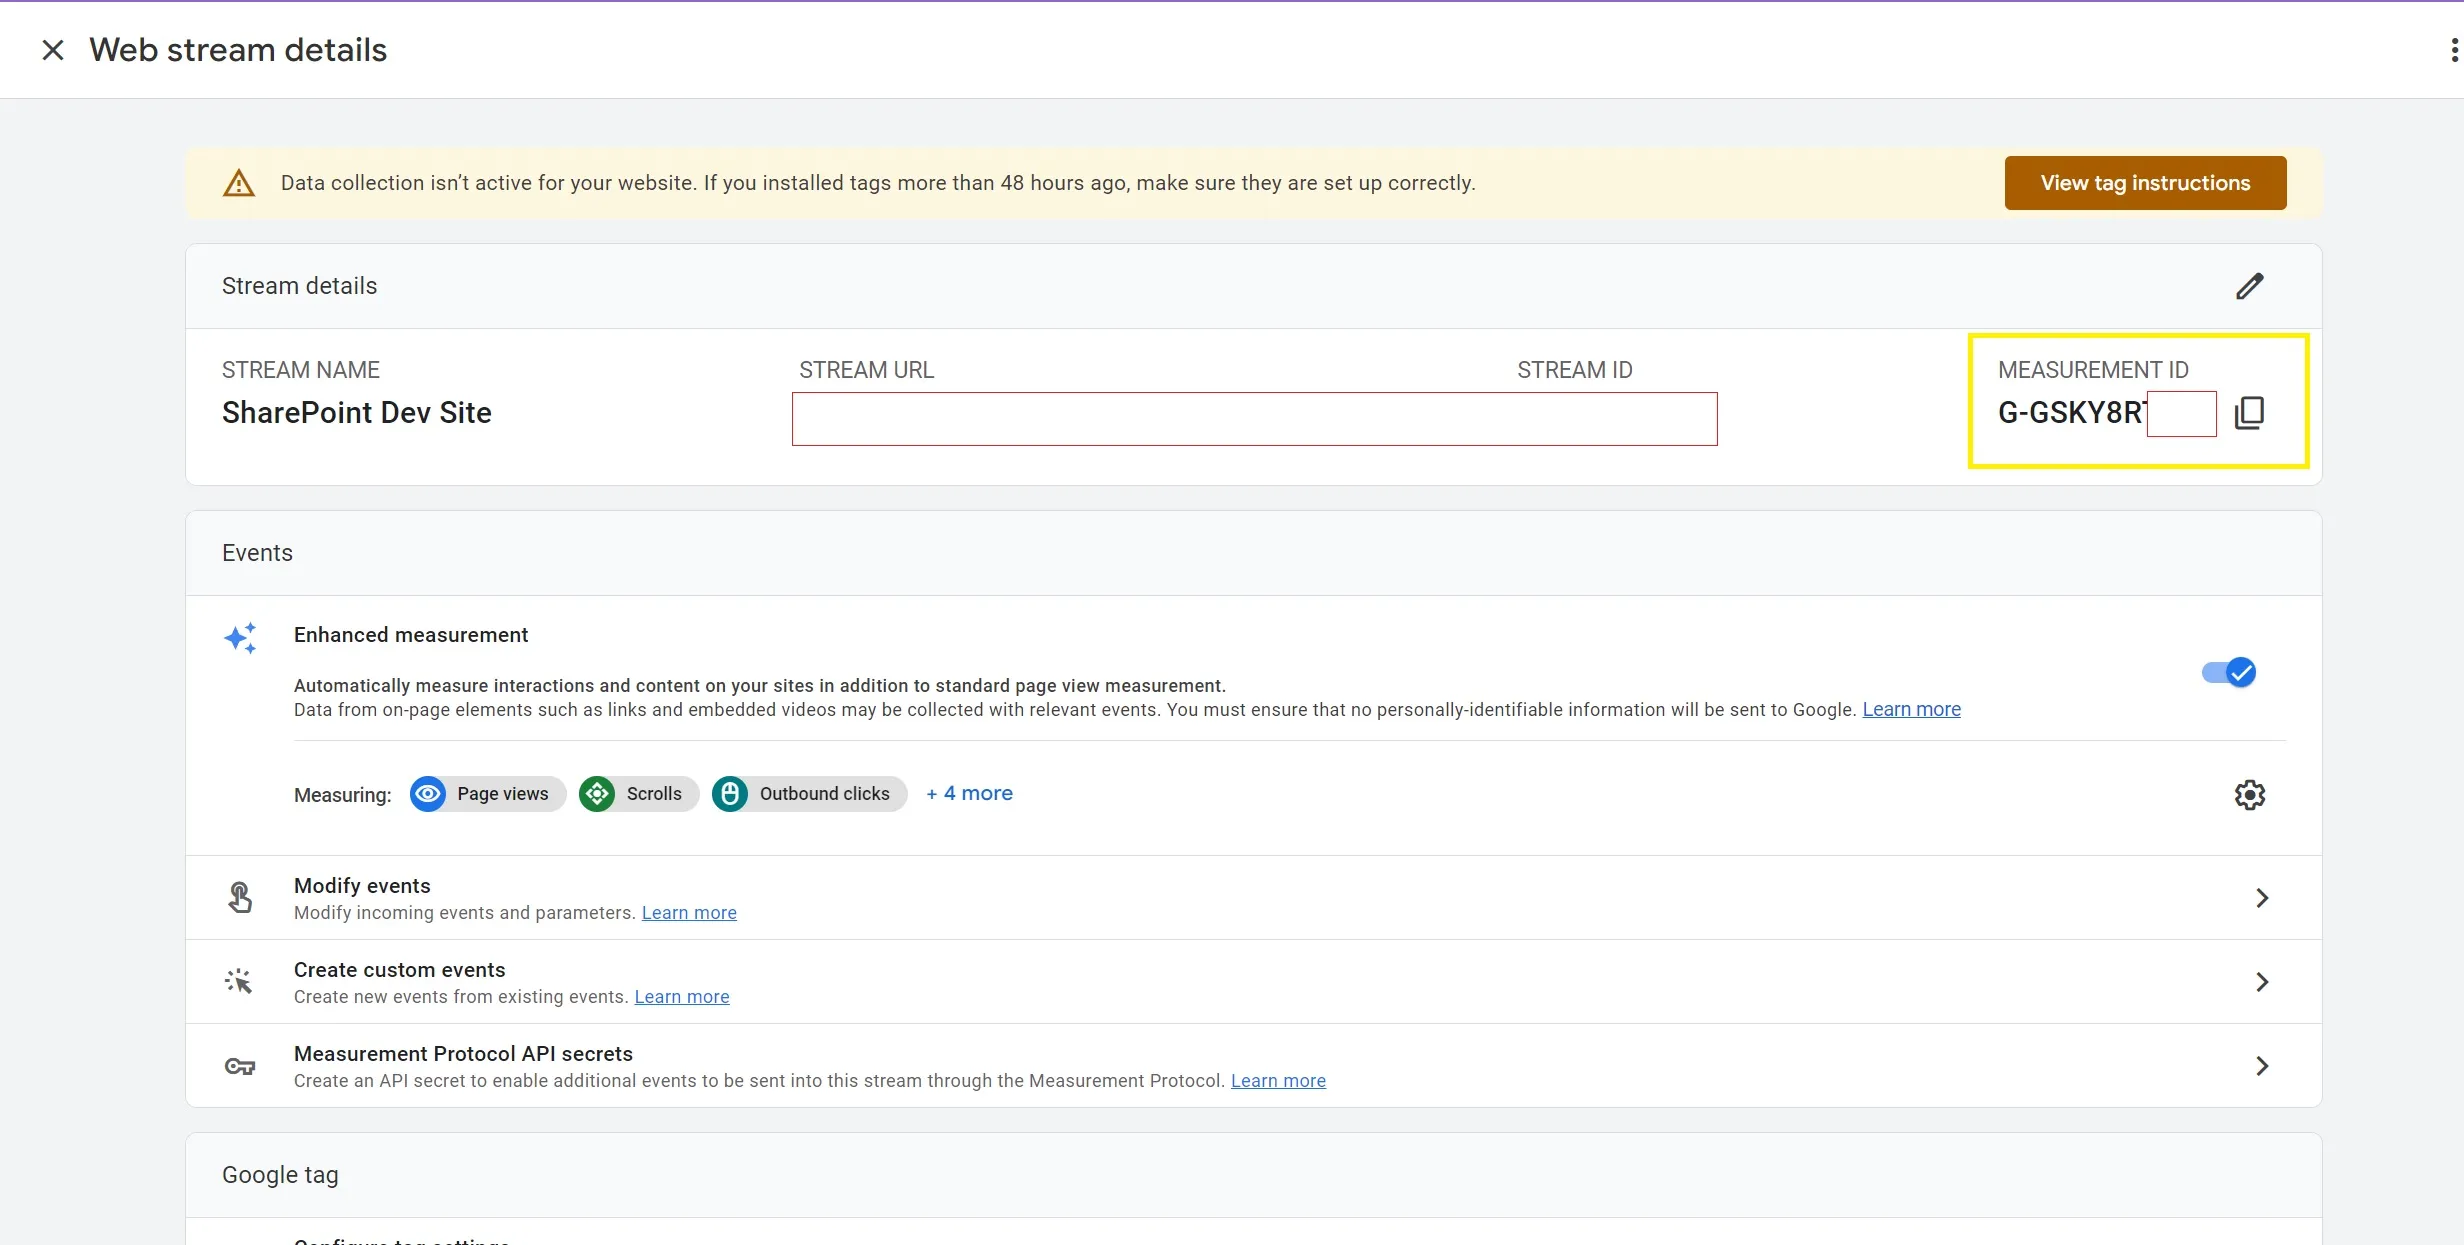
Once we got the Google Tag ID, we can now start working on developing our solution
- Let us open our PowerShell script and create the SPFx Solution using the Yeoman generator:
yo @microsoft/sharepoint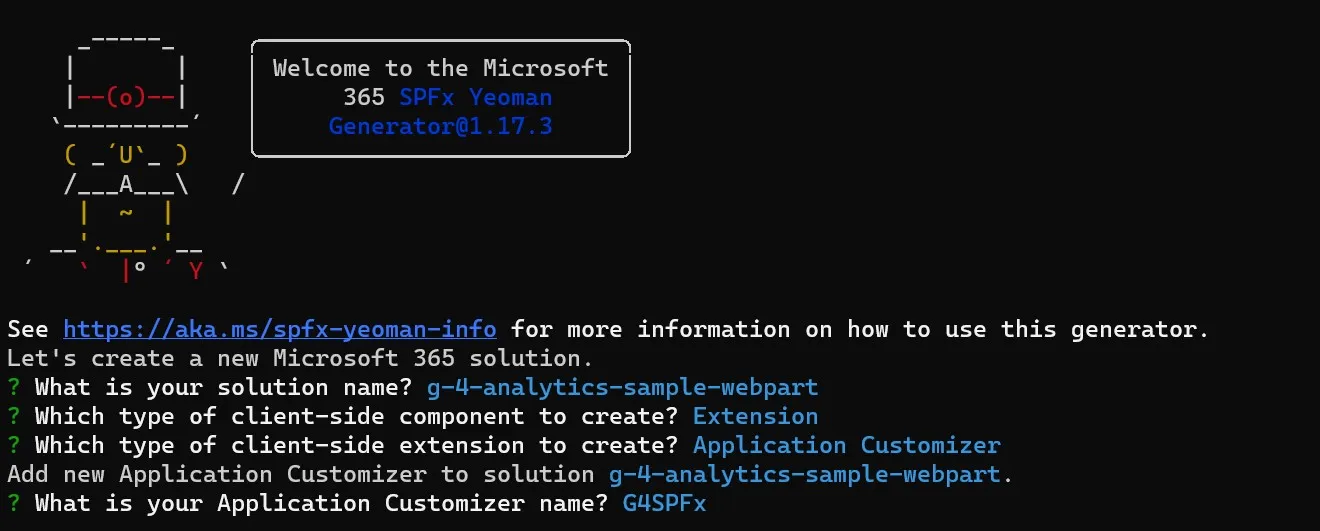
What is your solution name? g-4-analytics-sample-webpart
Which type of client-side component to create? Extension
Which type of client-side extension to create? Application Customizer
Add new Application Customizer to solution g-4-analytics-sample-webpart.
What is your Application Customizer name? G4SPFx
-
Open the solution in Visual Studio Code.
-
Navigate to ‘\src\extensions\g4SpFx\G4SpFxApplicationCustomizer.ts’ and insert the following code snippet under the ‘onInit’ method
export default class G4SpFxApplicationCustomizer
  extends BaseApplicationCustomizer<IG4SpFxApplicationCustomizerProperties> {

  public onInit(): Promise<void> {
    const trackingID = "G-GSKY9SSX99" // This is my Google Tag ID / Tracking ID
    const gtagScript = document.createElement("script"); //We will look for the script element in our html page

    gtagScript.type = "text/javascript";
    gtagScript.src = `//www.googletagmanager.com/gtag/js?id=${trackingID}`;
    gtagScript.async = true;
    document.head.appendChild(gtagScript);
    eval(`
      window.dataLayer = window.dataLayer || [];
      function gtag(){
        dataLayer.push(arguments);
      }
      gtag('js', new Date());
      gtag('config', '${trackingID}')
    `);

    return Promise.resolve();
  }
}
For simplicity, I have directly hardcoded my Google Tag ID / Tracking ID. However, it is recommended to place it in the appropriate location, such as the Property Bag of the Site Collection, to monitor the desired site.
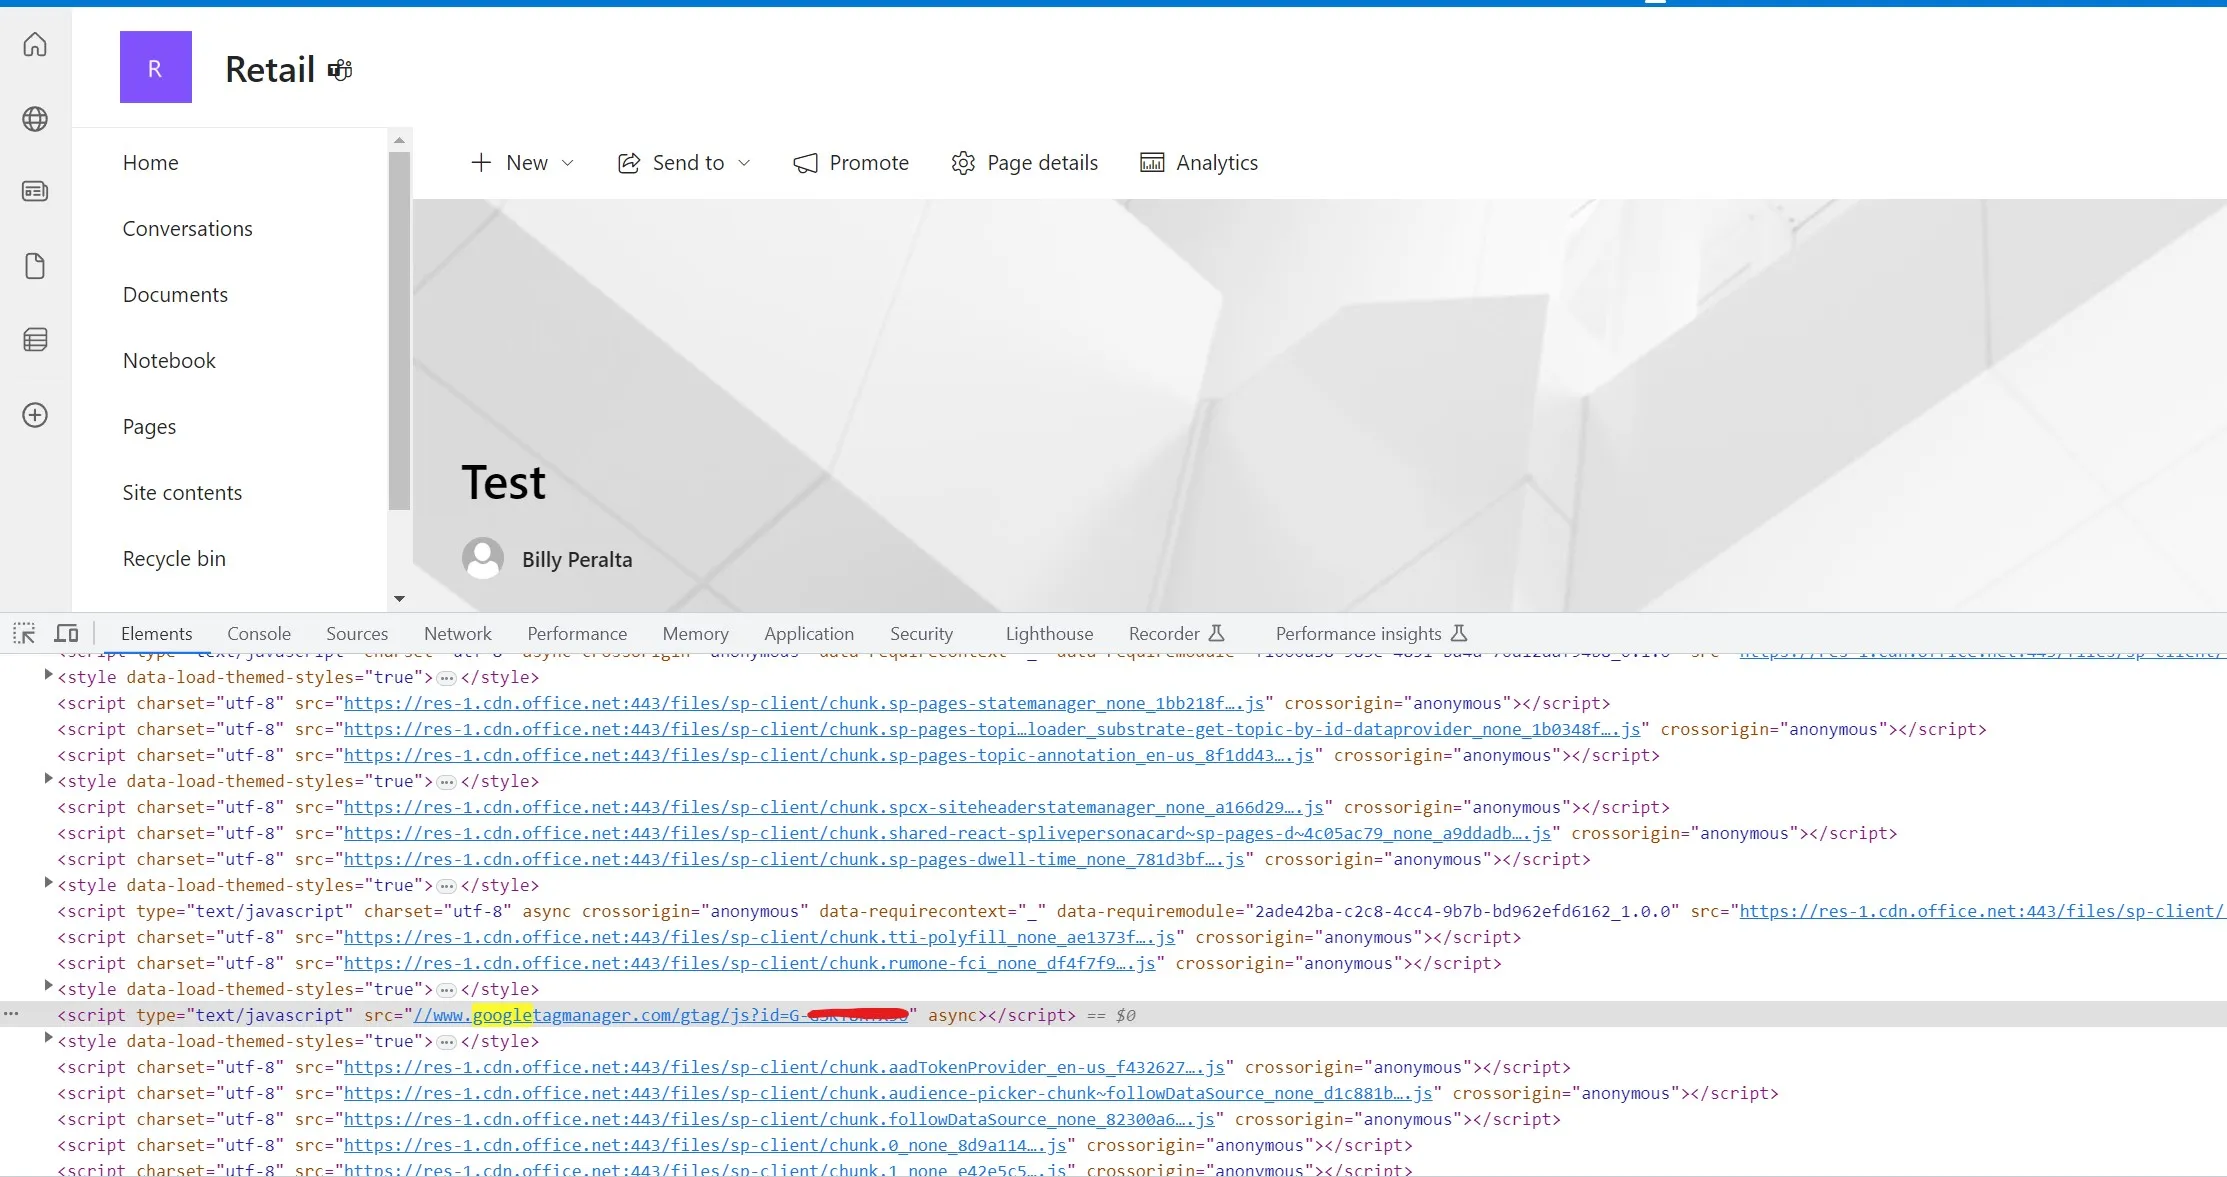
- Let us test the implementation by running “gulp serve”.
gulp serveTo verify that your code is functioning correctly, inspect the page and locate the Google Tag script.
- Once you have confirmed that your code is functioning as expected, we can proceed to compile and deploy it to our App Catalog. Please note that as this is an SPFx App Customizer, it can only be deployed in the App Catalog at the Farm Level.
Need a production-ready SPFx solution?
I build SharePoint Framework web parts, extensions, dashboards, and integrations using React, TypeScript, PnPjs, and Microsoft Graph.
Billy Peralta
SharePoint & Microsoft 365 Specialist • 16+ Years Experience
If you have questions about your SharePoint environment, feel free to reach out.
Need a production-ready SPFx solution?
I build SharePoint Framework web parts, extensions, dashboards, and integrations using React, TypeScript, PnPjs, and Microsoft Graph.